Last year I wrote an article about using the MudBlazor control library with a MAUI Blazor mobile app. I came away from that experience with the impression that yes, it was possible to do, but wasn’t very practical, since some of the controls in MAUI simply didn’t work in a mobile environment.
.NET MAUI has come a long way since then! For that matter, so has the MudBlazor library. With that in mind, I wondered how my little experience might go if I tried it again. Shall we see what’s changed in the last year?
Creating the project
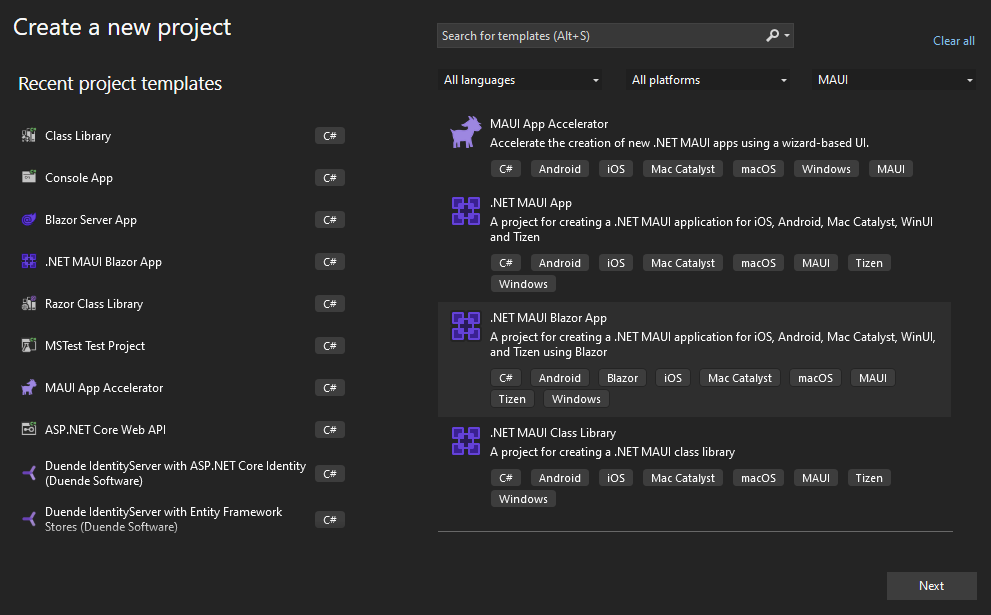
Last time I started with an out-of-the-box .NET MAUI Blazor application, in Visual Studio. Let’s do that again. We’ll start by choosing the .NET MAUI Blazor App wizard:
From there, we’ll select a name and location for the project. You can name yours what ever you like but I stuck with the default MauiApp1.

I’ll choose the .NET 7.0 framework, for this example.

Pressing the Create button generates a pretty typical MAUI Blazor project, that looks like this in Visual Studio:

Adding MudBlazor
To add MudBlazor, we’ll start by navigating to the MudBlazor website HERE where we’ll choose the “Getting Started” link, on that page.

That brings us to the MudBlazor installation page, which looks a bit like this;

Now, let’s follow the steps on that page, to add MudBlazor to our project. We’ll start by adding the NUGET package to our project, in Visual Studio. There are several ways to do this step but I usually just right click on the project, in the Solution Explorer, then choose the “Manage NuGet Packages …” menu option:

That displays the NuGet window, which looks like this:

From there I select the Browse tab, at the top. Then I enter “MudBlazor” in the search, and it responds by listing the various MudBlazor related packages. We want the one at the top, named “MudBlazor”. Once we’ve selected that, we go over and press the “Install” button, and Visual Studio displays the license dialog:

Press the “I Accept” button to install the package(s).
From there, we need to open the _Imports.razor page, in Visual Studio, and add an import for the MudBlazor library:

Next, we go over to the MudBlazor website, and copy two lines of font and style references, and paste them into the index.html page of our project, under the wwwroot folder:

Then we go back to the MudBlazor website again, and copy the script reference to the bottom of our index.html page, as shown above.
Next we need to open the MauiProgram.cs file, in Visual Studio, and add the following:

The last thing we’ll need to do, to add MudBlazor support, is add a few lines to our main layout page. Let’s do that now by opening the MainLayout.razor page, and adding these three lines:

Customizing our UI
At this point, we actually have a MAUI application with MudBlazor support. It may not seem like it though, because we haven’t yet added any controls. Let’s go do that now.
If you navigate to the MudBlazor website again (or maybe you’re still there), and go to the overview page HERE. We see a list of controls that we can choose from.

Now, last time I did this walkthrough, I wasn’t able to get the tab control to work properly, so that’s the first thing I want to try. Let’s go find the Tab control, on the MudBlazor page, and choose some sample code, and paste it into our MAUI project.

I chose to use the first MudBlazor sample for the Tab control, and paste that into the home page (Index.razor) of the MAUI project. The highlighted markup, above, is what I added. So, let’s run the app now and try it!
Testing our application on Windows
Unless you’ve customized your Visual Studio, you should see a green arrow at the top with the words “Windows Machine” next to it:

If you don’t see it, then you can choose the “Debug” menu, then choose the “Start Debugging” option, or you can just hit the F5 key. Any of those options will start the project.

The build should crank for a bit then start the following application:

It works! If it doesn’t look like this, at this point, or if you get build errors, then go back and carefully follow the steps I took to get here. Otherwise, feel free to click in the tabs. They all work as expected. If you still can’t get your project to run, you can download my finished project HERE.
Can we add other controls? Yes! Feel free, at this point, to add any MudBlazor controls that catch your eye. All of them should work in the application. Feel free to add logic, as well, to make your application actually do something besides look pretty. It’s all up to you, really.
Testing our application on Android
So, at this point I’ve demonstrated that adding MudBlazor to a MAUI Blazor application is very straightforward. But, wait! We haven’t tested on other platforms! Let’s go do that now.
Go back to Visual Studio. If your MAUI application is still running, close it. Go back to the top of Visual Studio, where we saw the green arrow and the phrase “Windows Machine”. Drop that control down and it should look like this:

Now, your options here might look different than mine. On my machine, I have a Pixel 5 emulator already set up and ready to go. You might have something different. In any case, select your Android emulator now.
If you don’t have an Android emulator already setup, you can go to the “Tools” menu, in Visual Studio, then choose the “Android” menu, then choose the “Android Device Manager …” menu option.

Going through all the steps to create an Android emulator is a bit outside the scope of this article, but there are resources, on the web for walking through that process, such as HERE.
Once you’ve selected your Android emulator, in Visual Studio, press the green arrow, or hit F5 to run your app.

So on my machine, my Android emulator looks like this, running our MAUI app:

Not going to win any design awards, but, it does demonstrate that the MudBlazor controls work property, in an Android environment.
Testing our application on iOS
There are a variety of ways to build and run a MAUI application on an iOS simulator. For this article, we’ll use the old school way, and pair to my Mac.
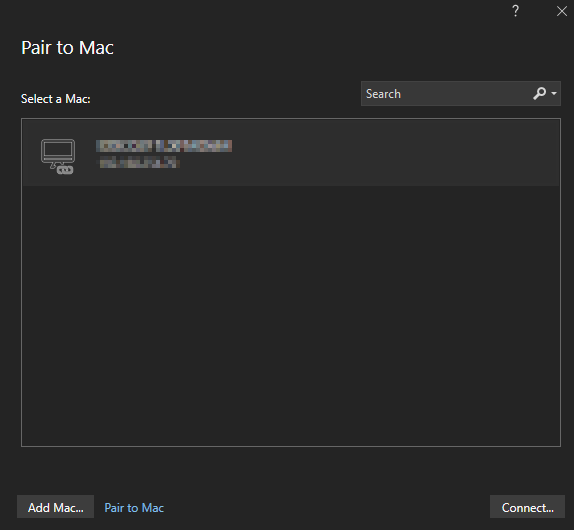
In Visual Studio, go to the “Tools” menu, then choose the “iOS” menu, then choose “Pair to Mac”.

That brings up the “Pair to Mac” dialog:
For this example, I’ll go ahead and pair to my Mac.
Pairing to a Mac, or building without a Mac, are both outside the scope of this article. If you don’t have a Mac, or if you haven’t yet gone through the steps to pair to it, then you can follow the steps outline HERE and/or HERE to move forward.
Once I’ve paired to my Mac, I see the option for my iPhone 12 emulator:

Depending on what emulator you’ve setup on your machine, you might see something different. In any event, press the green arrow or hit the F5 key to start on iOS.

Again, not a fancy UI but certainly one that demonstrates the ability to use MudBlazor, on MAUI, on an iOS device (well, emulator, anyway).
Wrapping up
Last year I looked at using MudBlazor controls in a MAUI application and came away thinking that it wasn’t practical. This year I think it’s completely practical and something everyone should consider. MudBlazor is a crazy good library that’s open source and completely free to use. Don’t hesitate to add it to your next MAUI Blazor project.
Projects
The project I built for this article can be downloaded from HERE.
Photo by Andrew Bain on Unsplash